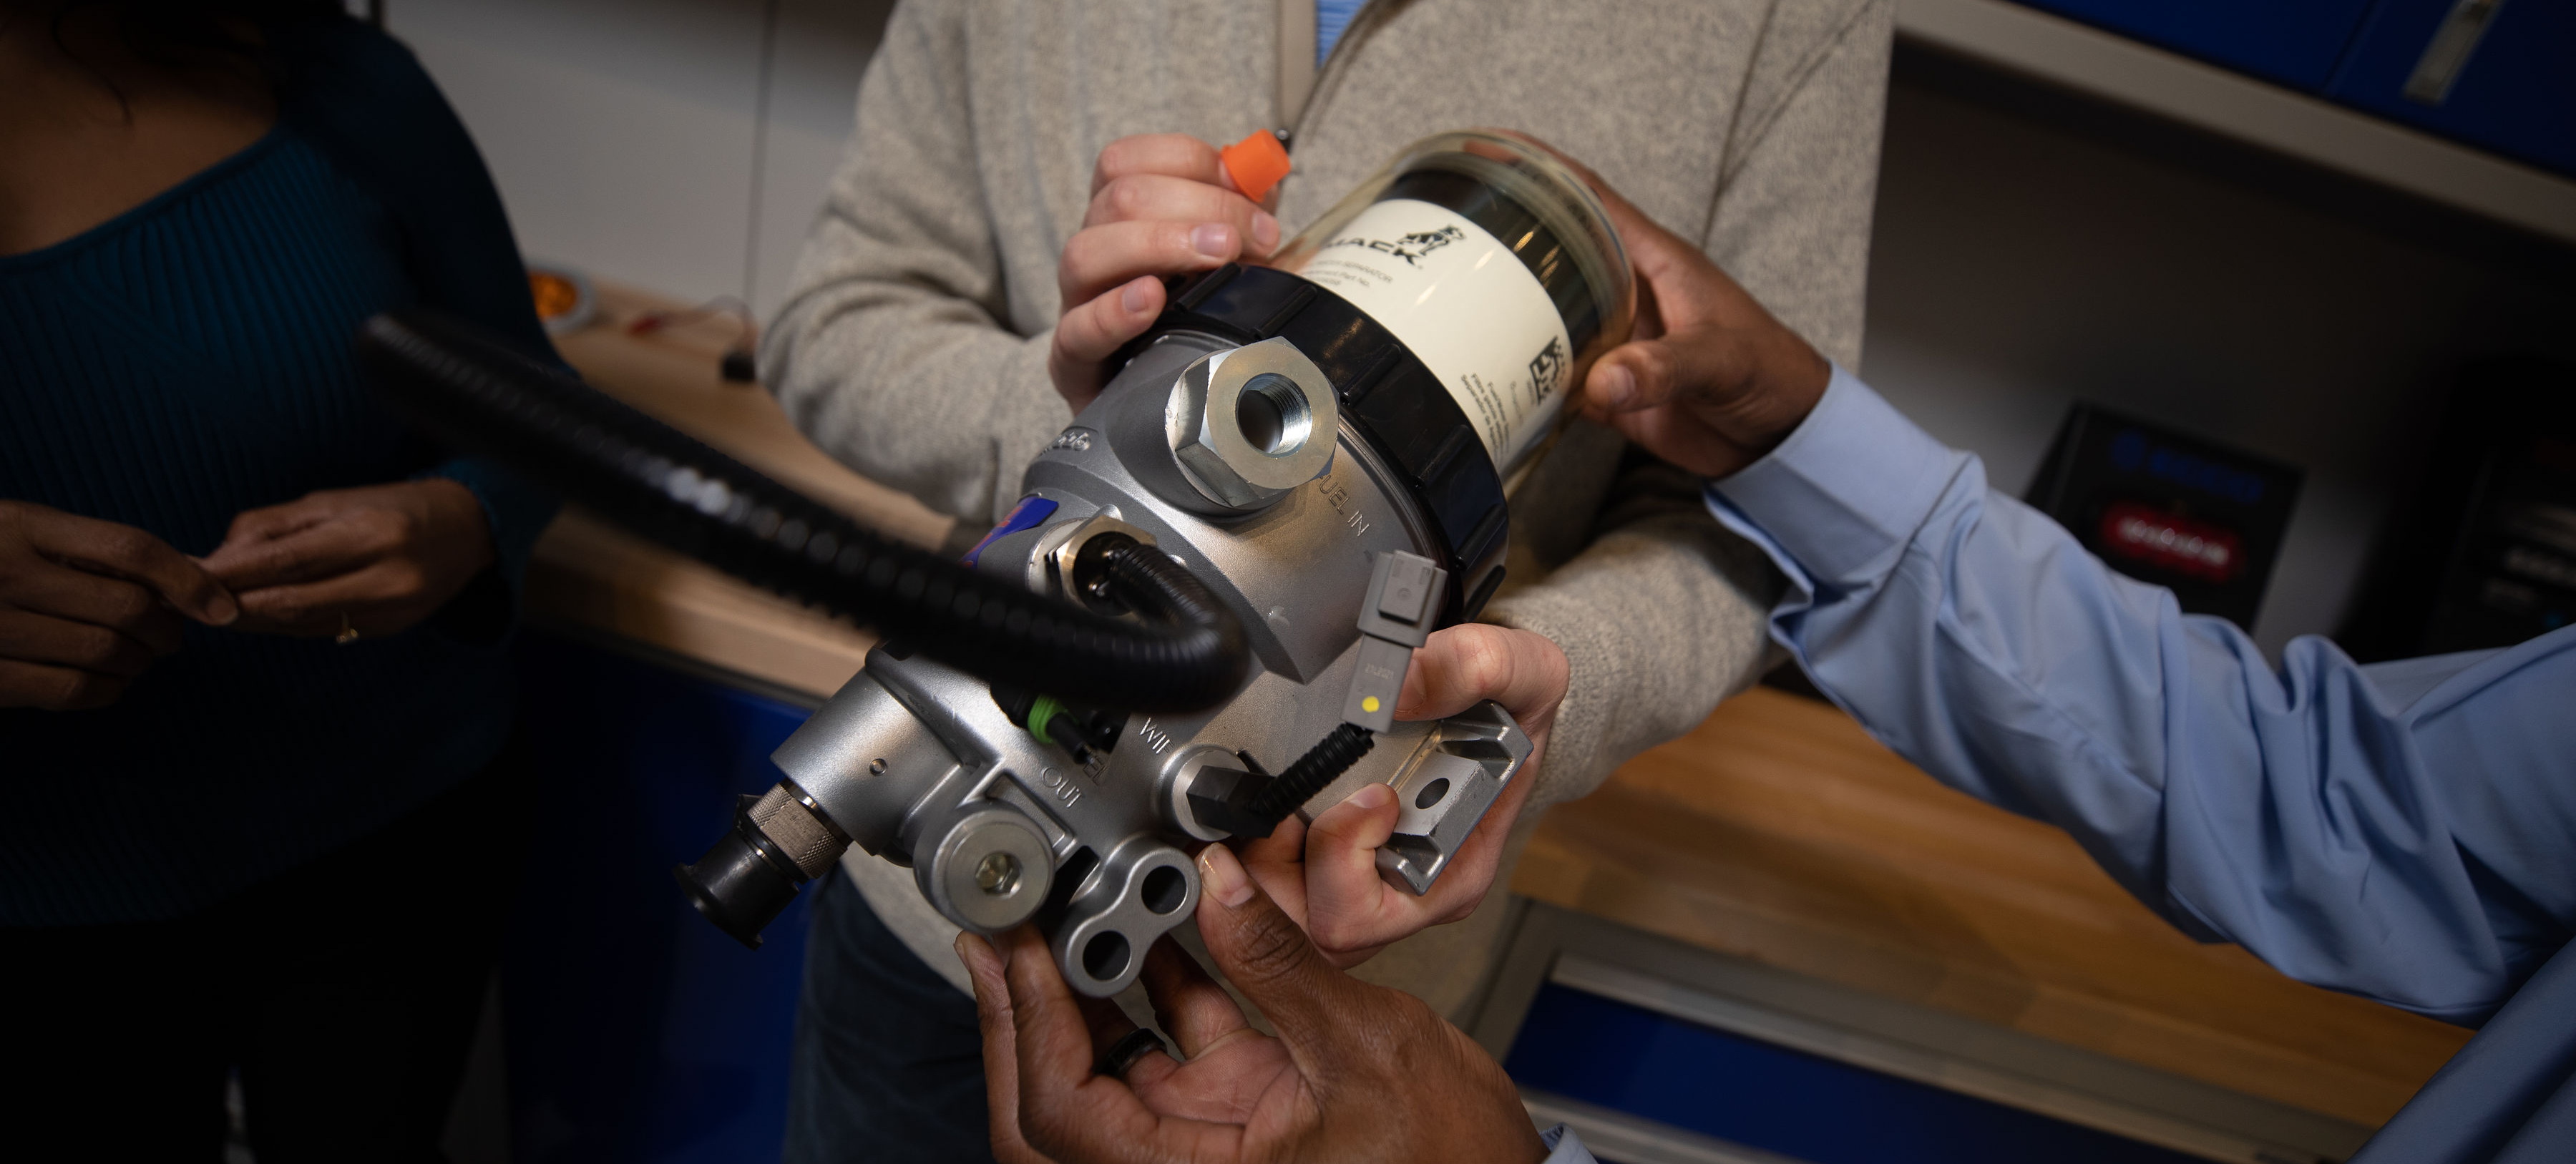
Diagnostics

Diagnostics with the Clear Cover

Fuel level is not to the top of the fuel filter. Normal - Do not change the filter.
Fuel level is at the top of the filter. Low power. Change the filter at the first available opportunity.
Fuel level is at the top of the filter and looks to be full of wax. Change the filter - Run engine for a minimum of 25 minutes at idle. Do not run at full RPM.
Bubbles are seen flowing in with the fuel. Check all fittings and lines from the fuel tank to the Fuel Processor. Check lower and upper collar o-rings.
There is a power complaint and the fuel level is below the collar. Check for a missing grommet at the lower end of the filter or missing/broken spring at top of filter.
Water is noticed in the cover. Drain the Fuel Processor. Do not drain with the engine running. Drain a full cup at a time. Restart the engine -- shut off engine and continue to drain and restart until ALL water is removed. If engine coolant is visible, follow proper engine pressure testing procedures to determine root cause.
Fuel drains back to the fuel tank when changing the fuel filter or draining separator. Remove the check valve assembly. Clean or replace and retest.
No engine coolant (Fuel Pro only). Check for closed cutoff valves at the coolant lines to the Fuel Processor. Make sure the cab heater valve is open.

Air vs. Vapor Bubbles

Distinguishing Air Bubbles from Vapor Bubbles

 
Air vs. Vapor Bubbles

There are two kinds of bubbles that may be visible at the fuel pump inlet of a diesel fuel system. The bubbles can be characterized as either air bubbles or vapor bubbles.

Air bubbles are caused by any air leak on the vacuum (suction) side of the fuel system from the fuel tank pick-up to, and including, the lift pump. If there is an air leak in the fuel system, air bubbles will be present in the clear cover of the Fuel Processor. Follow test procedures outlined in Form 3089 for air leak diagnostics.

If there are no bubbles present in the Fuel Processor cover and the engine continues to run rough, lopes or has a loss of power, there may be an air leak between the Fuel Processor outlet port and lift pump inlet. This type of air bubble can be seen if a sight tube is installed at the lift pump inlet. Air bubbles may also be visible in the fuel return (spill) hose out of the fuel gallery. These leaks are easily eliminated by checking and torquing the fuel fittings in the area of the leak.

NOTE 1: A quick procedure to determine if the air leak is between the fuel tank and the Fuel Pro is to remove the Fuel Pro inlet hose and route a new hose from the Fuel Pro inlet into a container of fuel or the fuel tank fill cap opening. Start the engine and check for bubbles. If there are no air leak symptoms, but bubbles are present in a sight tube at the fuel lift pump inlet, they are most likely vapor bubbles.

 
Vapor Bubbles

All diesel fuel has some level of entrained air caused by the natural splashing that occurs in the fuel tank during normal vehicle or equipment operation. Vapor bubbles develop in the Fuel Processor because the pressure inside the Fuel Processor is lower than the atmospheric pressure in the fuel tank. Vapor bubbles can vary from champagne size up to ¼" in diameter. They may increase in size or volume as engine rpm increases.

The lower pressure draws the entrained air/vapor out of the fuel and these bubbles will be visible as the fuel exits the Fuel Processor. As the fuel enters the lift pump, it is pressurized and the bubbles are compressed back into the fuel. There will be no bubbles on the fuel return side of the system. These vapor bubbles will not affect the performance of the engine.

NOTE 2: An easy way to determine the difference between vapor and air bubbles is by temporarily removing the filter element from the Fuel Pro. Fill the cover with clean diesel fuel, replace the vent cap and re-run the outlet fitting sight glass test. If there are no bubbles present in the sight glass then they were vapor. If bubbles are still present then they are air. If air bubbles still exist, re-run the test in NOTE 1 to eliminate the chassis plumbing as a variable. There is no troubleshooting or repair procedure required for vapor bubbles. Vapor bubbles do not cause performance issues and will not be present after the lift pump.

The brief video below shows vapor bubbles in a Fuel Pro 482 (requires access to YouTube.com).


Fuel Quality Issues

Protect Your Fuel System
Water
  • Water condenses in fuel tanks
  • Water + sulfur create corrosive acidic environment
  • Water reduces lubricity of fuel
  • Water accelerates the growth of microbes; microbial waste adds to acidity of fuel
  • Water decreases efficiency of fuel
  • Water increases oxidation
Biodiesel Blends
  • Biodiesel blends, because of their inherent solvent property can dissolve accumulated sediment
  • Biodiesel blends contain surfactants that can emulsify water droplets
  • Biodiesel blends can increase microbial growth
Particles
  • Particles such as soot, dust, rust, and noncombustible metallic material (also called “ash”) cause component wear from abrasion and heat
  • Particles contribute to formation of carbon deposits
  • Particles clog injector nozzles, altering injector spray patterns and causing poor combustion
Asphaltenes
  • Asphaltenes are a normal by-product of fuel oxidation, look like a black tar, and result in incomplete combustion
  • Asphaltenes degrades fuel lubricity
  • Asphaltenes create lacquer build up and deposits of hard materials that shorten pump and engine life

Leak Detection

Most field issues associated with leaks are related to loose fittings. These leaks are easily eliminated by checking and torquing the fuel .fittings in the area of the leak. Some fittings may also require the application of liquid Teflon sealer.

NOTE: All suction side fuel filters experience bubbles. It is normal to see champagne size bubbles in the fuel processor at the Fuel Pro/Diesel Pro outlet or at the lift pump.

  • Air Leak: Air bubbles will be visible in the clear cover of the Fuel Processor if the leak originates from the fuel tank up to the fuel filter. The following is a quick test to isolate the air leak source.
    • Bubbles Visible: Remove the Fuel Processor inlet hose.
      • Install a jumper hose from the Fuel Processor to the fuel tank (through the fill cap) or to a container of fuel.
      • Start the engine. If this eliminates the air bubbles, the air source is at the fuel tank fittings or hose connections.
        • Tighten all fittings and connectors
        • Retest
      • If air bubbles persist, the air source is on the Fuel Processor side of the system:
        • Tighten all fittings on the Fuel Processor.
        • Tighten the bottom collar (if applicable) with a collar wrench or a strap wrench and hand tighten the top collar.
        • If the drain valve is suspected, install a plug in place of the drain valve (for test purposes only).
      • If air bubbles continue to persist, test as follows:
        • Remove the Fuel Processor from the chassis.
        • Plug fuel outlet port. Do not remove the filter, cover/collar, vent cap, drain valve and/or check valve. If the Fuel Processor is equipped with a pre-heater, do not remove the pre-heater. Do not plug fluid heat ports. (See drawings on printable version.)
        • Apply 15PSI of air pressure at the fuel inlet. Immerse the Fuel Processor in a tank of water and look for air bubbles.
        • Correct the source of the air leak and retest.
    • Not Visible: If there are symptoms of sucking air (indicated by engine loping/rough running performance/power loss, etc.) and there are no bubbles in the clear cover, the air leak is either at the Fuel Processor outlet fitting, vent cap o-ring, the lift pump inlet connection, or the fuel hose/connections to the lift pump. Inspect and tighten fittings as needed.
  • Excessive Restriction: If the fuel level is at the top of the filter, replace the fuel filter. The Fuel Processor will not cause excess system restriction if the fuel level is below the top of the filter. The only exception is if the grommet is not installed in the bottom of the filter element.
  • Loss of Prime: When air is introduced into the fuel system, (ie: draining water from the Fuel Processor or when replacing the fuel filter) a check valve is needed to keep the fuel system primed from the Fuel Processor back to the fuel tank. A check valve is standard with all on-highway Fuel Processors.
    • To test for proper check valve operation, remove the fuel inlet hose and open the vent cap. Fuel should not flow out of the Fuel Processor, although a slight seepage of fuel is normal.
    • If fuel drains back to the fuel tank, remove the check valve assembly at the fuel inlet fitting. Disassemble the check valve assembly. Clean, inspect and replace the assembly if any cuts, grooves or nicks are evident in the ball or body seat. Reinstall the check valve assembly.

WIF Diagnostics

  1. Drain the DAVCO. Disconnect the WIF sensor from the chassis harness. Remove the WIF sensor.
  2. Inspect the WIF sensor. Inspect the probe tips for deposits, corrosion or missing (clean or replace as needed).
    2 pins
  3. Inspect the connector terminals for damage or corrosion (replace as needed).
  4. Inspect the wiring at the WIF body (improper harness routing can result in failure at this location).
    install
  5. Test the WIF sensor at the connector using a Digital Volt Meter. Set the meter to the OHM mode auto range or select manual mode range 0-100kΩ.
    meter

The WIF sensor resistance value should be 82kΩ +/- 5% (or 77.9kΩ to 86.1kΩ). Replace sensor if reading is outside of the specification. If the resistance test falls within specification the sensor is good and the issue is unrelated to the DAVCO Fuel Pro WIF. The ECM is looking for the 82kΩ load to confirm the sensor is connected. Therefore with a good WIF an existing WIF related code can also indicate an issue with chassis wiring. Inspect the chassis wiring for potential issues.

Check Valve Diagnostics

 
Diesel Pro 243 (internal) Check Valve Diagnostics
  1. Remove the vent cap and open the drain valve. Drain the Diesel Pro 243 completely.
  2. Remove the collar, cover and the filter.
  3. Remove the check-valve assembly.
  4. Clean and inspect the check-valve. If the check valve appears damaged, consult the Parts section for the correct part number to order.
  5. Reinstall the check-valve assembly into the Diesel Pro 243 body at 5-7 ft-lbs. of torque.
  6. Install the filter cover and collar and seals.
  7. Prime the unit by filling the clear cover with clean diesel fuel until it reaches the top of the filter.
  8. Install the vent cap. Tighten the vent cap by hand until it clicks.
  9. Start the engine and run for one minute. Slowly open the vent cap and allow the fuel to drop to about one inch above the collar.
  10. Tighten the vent cap by hand until it clicks.

It is normal for the fuel level to vary after the initial start-up and during engine operation. Filter performance is not affected.

 
Fuel Pro and Diesel Pro 245 Check Valve Diagnostics
  1. Remove the fuel inlet hose and open the vent cap. Fuel should not flow out of the Fuel Pro, although a slight seepage of fuel is normal. If fuel drains back to the fuel tank, remove the check valve assembly at the fuel inlet fitting.
  2. Use a back-up wrench to hold the check valve body and remove the fuel hose from the inlet of the Fuel Pro.
  3. Remove and disassemble the check valve assembly.
  4. Clean and inspect the check valve body.
  5. Replace the check valve body if any cuts, grooves or nicks are evident or if the ball seat is not smooth.
  6. Inspect the check valve spring and spring retainer. If the spring or spring retainer is broken or if the check ball has groves, nicks or is out of round, replace with a check valve service kit. Otherwise, clean and reassemble the check valve assembly.
  7. The spring retainer snaps into a groove in the check-valve body.
  8. Replace the check valve assembly into the body and torque to 44-60 ft-lb.
  9. Connect the fuel inlet hose, using liquid or paste type thread sealant.
  10. Prime the fuel system, start the engine and check for any fuel leaks.
 

Heater Testing

DO NOT ENERGIZE THE HEATER OUTSIDE OF THE FUEL PRO OR DIESEL PRO. It can become very hot!

There are various configurations of electric pre-heaters and thermoswitches available for the Fuel Pro/Diesel Pro. These include 12VDC pre-heaters, 24VDC pre-heaters, 120VAC pre-heaters/thermoswitches, and combination pre-heater thermoswitches. The voltage and wattage ratings are stamped either on the sheath or the hex of each component for identification.

Equipment Needed:
  • A precision low resistance ohm meter capable of measuring 1/10th ohm or less.
  • Current flow meter (clamp-on type for DC current).
  • Ice, dry-ice, CO2 or some means of chilling the thermoswitch.
  • A flameless source of heat. (ie: infrared heat lamp, etc.) Note: A Vortex tube is a good tool to heat and cool for testing. DO NOT USE a test light that has a wire probe for any of these tests. If the wiring insulation is punctured, moisture and road salt can penetrate into the wires creating a corrosion issue and potential failure.
Draining the Fuel Pro
  1. Shut off the engine and set the parking brake.
  2. Attach a length of hose to the drain valve and place a receptacle under the Fuel Pro/Diesel Pro.
  3. Loosen the vent cap on top of the clear housing. Open the drain valve and drain the fuel into the receptacle.
  4. When the fuel is drained, close the drain valve.
Pre-heater Operation Test
  1. Disconnect the pre-heater from the harness.
  2. Connect the ohm meter leads to the pins of the pre-heater. For heaters with one pin, connect to the pin and the bushing.
  3. Use the table to determine whether the pre-heater resistance value is in the acceptable range.
Electric Pre-heater Watts Resistance Range (ohms)
12VDC (two pin) 250 W 0.6 to 0.8
12VDC (single pin) 250 W 0.6 to 0.8
12VDC (single pin) 150 W 0.8 to 1.1
12VDC (two pin) 150 W 0.8 to 1.1
24VDC (two pin) 250 W 2 to 2.5
24VDC (single pin) 250 W 1.8 to 2.3
24VDC (single pin) 150 W 3.6 to 4.1
24VDC (two pin) 150 W 3.6 to 4.1
120VAC 75 W 173 to 203
120VAC 37 W 369 to 411
Combination Pre-heater Thermoswitch Performance Test
  1. Disconnect the harness from the heater/thermoswitch combination unit.
  2. Using one of the cooling methods listed under "Equipment Needed", reduce the temperature of the thermoswitch to below 40° F.
  3. Connect the ohm meter leads to the pre-heater pins. Use the table to determine whether the pre-heater resistance value is in the acceptable range.
  4. Using one of the pre-heating devices listed under "Equipment Needed", raise the temperature of the combination pre-heater to 70°F. The ohm meter should read “open circuit” for the combination units.
12 VDC PTC/24VDC Heater Performance Test
  1. Disconnect the harness from the heater.
  2. Connect the ohm meter leads to the pins of the heater. Use the following to determine whether the pre-heater resistance value is in the acceptable range.
PTC Pre-heater Watts Resistance Range (ohms)
12VDC (PTC) 155 W 0.95 to 1.2 @ 77°F (25°C)
12VDC (PTC) 195 W 0.4 to 0.6 @ 77°F (25°C)
24VDC (PTC) 195 W 2.0-3.0 @ 77°F (25°C)
Fluid Heater Thermovalve Test on Fuel Pro 382
  1. Drain the housing completely.
  2. Remove the fluid hoses attached to the bottom plate. These will either be engine coolant hoses or return fuel hoses. Engine coolant hoses will have to be plugged when removing them from the unit.
  3. Remove the bottom plate.
  4. While looking into the fluid port of the bottom plate, run cold water over the thermovalve for 30 seconds, then run hot water over the thermovalve to determine whether the thermovalve spool is opening and closing.
  5. Replace the bottom plate seal and install the bottom plate onto the Fuel Pro.
  6. There are two styles of bottom plates.
    • Torque the bolts of the bolt-on version bottom plate to 10 ft-lbs.
    • Torque the collar of the collar version to 50 to 60 ft-lbs. Note: Applying 2-3 drops of thread sealant to secure the bottom collar is recommended.
  7. Reconnect the fluid hoses to the bottom of the Fuel Pro.
  8. Fill the Fuel Pro with fuel and restart the engine.
  9. Check for leaks.

Diagnostics